By Pascal Forget
You can take truly great photos with your cellphone—if you know what you’re doing; these tips and tricks will help you make the most of your phone’s camera
5 Basic Guidelines
Choose your format
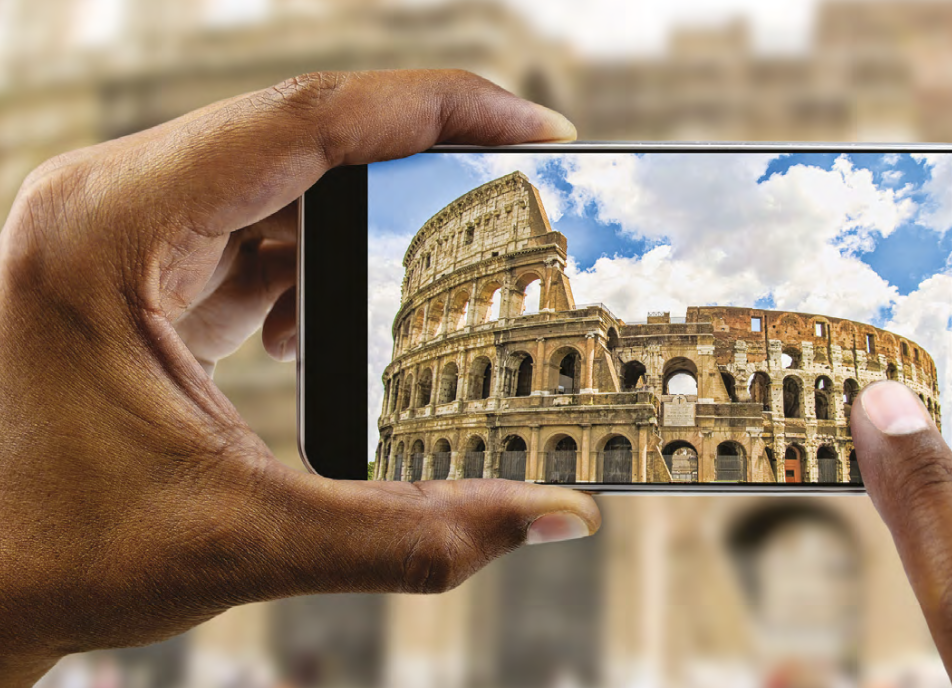
Whether you opt for a vertical or horizontal photo depends on the subject: if it’s narrow or tall (a tower, a portrait of someone), vertical is best. If the subject is wide (a car, a group, a landscape), a horizontal format is what you want—just turn your phone 90 degrees (a quarter turn). Horizontal photos make for better viewing on a computer or TV.
Get closer
The zoom function on phones has become more and more powerful, so it’s tempting to zoom in by sliding two fingers apart on the screen, but be careful: beyond a certain limit (which varies by phone), more magnifi- cation can mean less sharpness. Even if the image will be digitally optimized later, the quality will quickly deteriorate with too much zoom. If you take a few steps forward instead, you’ll get better results.
Frame your shot
By using the rule of thirds, you’ll get more dynamic photos. Instead of always centring people in the photo, try to place a point of interest (an eye for a portrait, a face for a photo taken from farther away) on one of the intersecting lines of an imaginary tic-tac-toe grid divid- ing the image.
Watch the birdie!
As the lens in a cellphone is much smaller than the lens in a traditional camera, ask your subject to look directly at the phone. This gives a much better result.
Turn off the flash during a performance
During an evening show or a concert, turn off the flash on your cellphone. Because it’s not powerful enough to light up the stage, all it will do is blind nearby members of the audience. If your photos are blurry, try filming instead.
Choose Your Lens
• Macro. This one’s for taking sharp photos, even up close—perfect for capturing the tiniest details of a flower, for example.
• Wide angle. This is usually the main lens, with the best sensor.
• Ultra-wide angle. This will allow you to photograph large objects without having to step back. Note, however, that people and objects at the edges of the photo will be distorted by the “fish-eye” effect.
• Zoom. This lets you bring closer something that’s far away. The magnification level varies by phone, usually from 2X to 10X. You can zoom beyond this, but the results won’t be as good. And despite the optic-stabilization function, the more you zoom, the steadier you need to hold the camera to get sharp photos.
• Selfie. The lens faces the user; this setting is for taking photos at arm’s length.
Experiment With Modes
To make the user’s life easier, the camera chooses the best settings in most situations and automatically optimizes the photo, but for those who want to take it further, special modes are available.
• Night mode lets you take spectacular photos even in the dark. A few seconds are sometimes needed to capture the image.
• Portrait mode helps you photograph someone up close. Faces are emphasized and the background is blurred. With an iPhone, you can adjust the brightness to get studio lighting after taking the photo.
• Pan mode is fantastic for immortalizing landscapes. After turning your cellphone so it’s in a vertical orientation, just press the shutter release and then gently move your phone, following the arrow on the screen, to sweep the scene. Several photos will be combined to create a wide image. If the result isn’t perfect, just start over.
Retouching
So your photo isn’t perfect…you can always improve it using your phone. Touch the photo and suggested retouching options will appear. For example, you can crop the photo (reframing it to keep only the part that interests you) and adjust the colours using different filters. With a Google Pixel camera, the “magic eraser” option deletes, with a single click, any distracting elements, such as other tourists behind the people you are photographing.
Thanks to artificial intelligence, you can also improve your photos using the popular editing app Photoshop. Just choose an area you want to modify and then describe what you want to do—replace the grey sky with a blue sky with a few clouds, for example. You can also add elements—a road sign, a rainbow, or even (why not?) a hippopotamus! The result is very realistic, and the creative possibilities are endless.


